 Its cold outside. I mean really cold. Here in northern Minnesota were kind of used to the bluster of winter, it goes with living in the northland but good gosh almighty if it isnt early this year.
I know…. stop the weather time complaining but geesh as if our snowless time isnt cut short enough each year we have to suffer January temps right along with the white stuff? Ahhhhh well, one super awesome thing happen though for a yarnie at this time of the year: Hats. OOOOooOOOoohhhh me OH my hats galore……
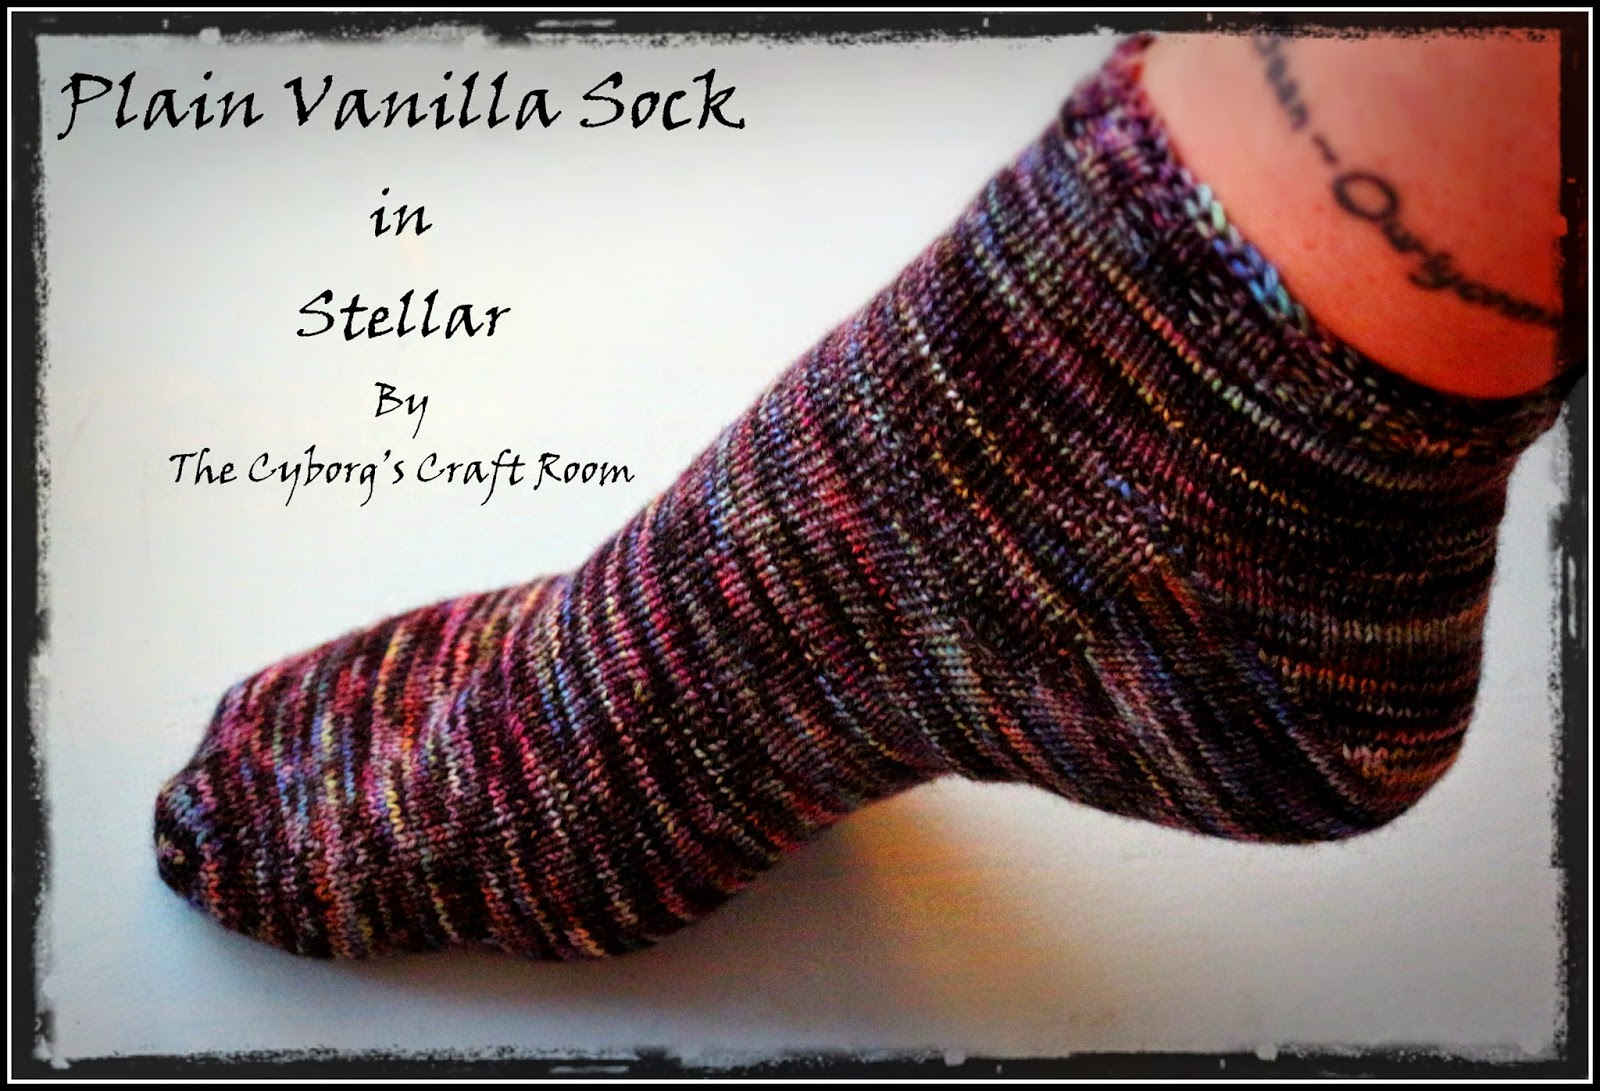 Im supposed to be finishing up knitting a sock. The mate to this one here……….
So that I can nab the needles and get started on a pair of very special New York Rangers socks for hubbys super top secret Christmas present…. shhhhhh, please dont tell. ;)But alas instead of doing that (or the bajillion and one other things I could be finishing the “glitter squirrel” came to visit and bam! Hat. I need to make a hat. Not just any hat. MUST BE A CABLED HAT. So here she is, or he is its up to you……
I hope you have fun playing with this one  Im thinking of adding a pom pom or maybe going girly I have plans for a scarf, wristers, maybe a cowl and a set in fingering weight for those that like a lil more refinement Come join the fun and tell me what you might like to see over on our facebook page Crochet Supernova and dont forget to check out the YouTube channel to see video patterns and some other fun stuff we have planned Happy creating <3
 Heres what youll need……
Heres what youll need……
Materials:
Worsted weight yarn (I used I love this yarn! from Hobby Lobby)
I hook and a J hook
Scissors
Large eye needle for weaving in ends
Worsted weight yarn (I used I love this yarn! from Hobby Lobby)
I hook and a J hook
Scissors
Large eye needle for weaving in ends
With the I hook ch 6
Row 2: sc in each st across (5). Chain 1 and turn.
Row 3: sc in back loop only of each st across (55 rows) Chain 1 and turn.
Repeat row 3 across until last st and join together in the round stitching up the seam as you create the last (56) row
Row 2: sc in each st across (5). Chain 1 and turn.
Row 3: sc in back loop only of each st across (55 rows) Chain 1 and turn.
Repeat row 3 across until last st and join together in the round stitching up the seam as you create the last (56) row
switch to J hook
(you will be working in the round)
sc in each st across the band …. 56 st . join to beginning. chain 2.
Row 1: HDC in each sc around join with a slip st to the beginning. Chain 2
Row 2: HDC in each stitch around join with slip st to beginning HDC. chain 2.
Row 3: HDC in next 2 HDC, *FPtreb in next 4 stitches 2 rows BELOW, HDC in next 4 HDC; repeat from* all the way around to last 2 st. HDC in last 2 st and join w slip stitch to first HDC. Chain 2
Row 4: Repeat row 2
Row 5: Chain 2 HDC in next 2 HDC, *skip 2 FPtreb stitches below, FPtreb in next 2 FPtreb stiches. FPtreb stitch in the first skipped FPtreb below and then FPtreb Stitch in the second FPtreb stitch skipped forming your crossed cable effect. HDC in next 4 stitches* across ending with HDC in each of the last 2 stitches. Join with a slip st to the top of the first HDC. Chain 2.
Row 6 and 7: Repeat rows 2 and 3
Complete rows 2-7 3 more times then begin to decrease.
Follow in pattern as follows: HDC rows only
HDC decrease 2, hdc 4 (in the cables) HDC decrease over 2, HDC 4 (in the cable stitches) keep decreasing in this way and following the pattern until you have nothing but the 4 stitches that make up the cables left.
Do one row of hdc decreases all the way around and secure yarn and cut. Use your large eye needle and close up the remaining hole gathering it tight and securing and weaving in all ends.
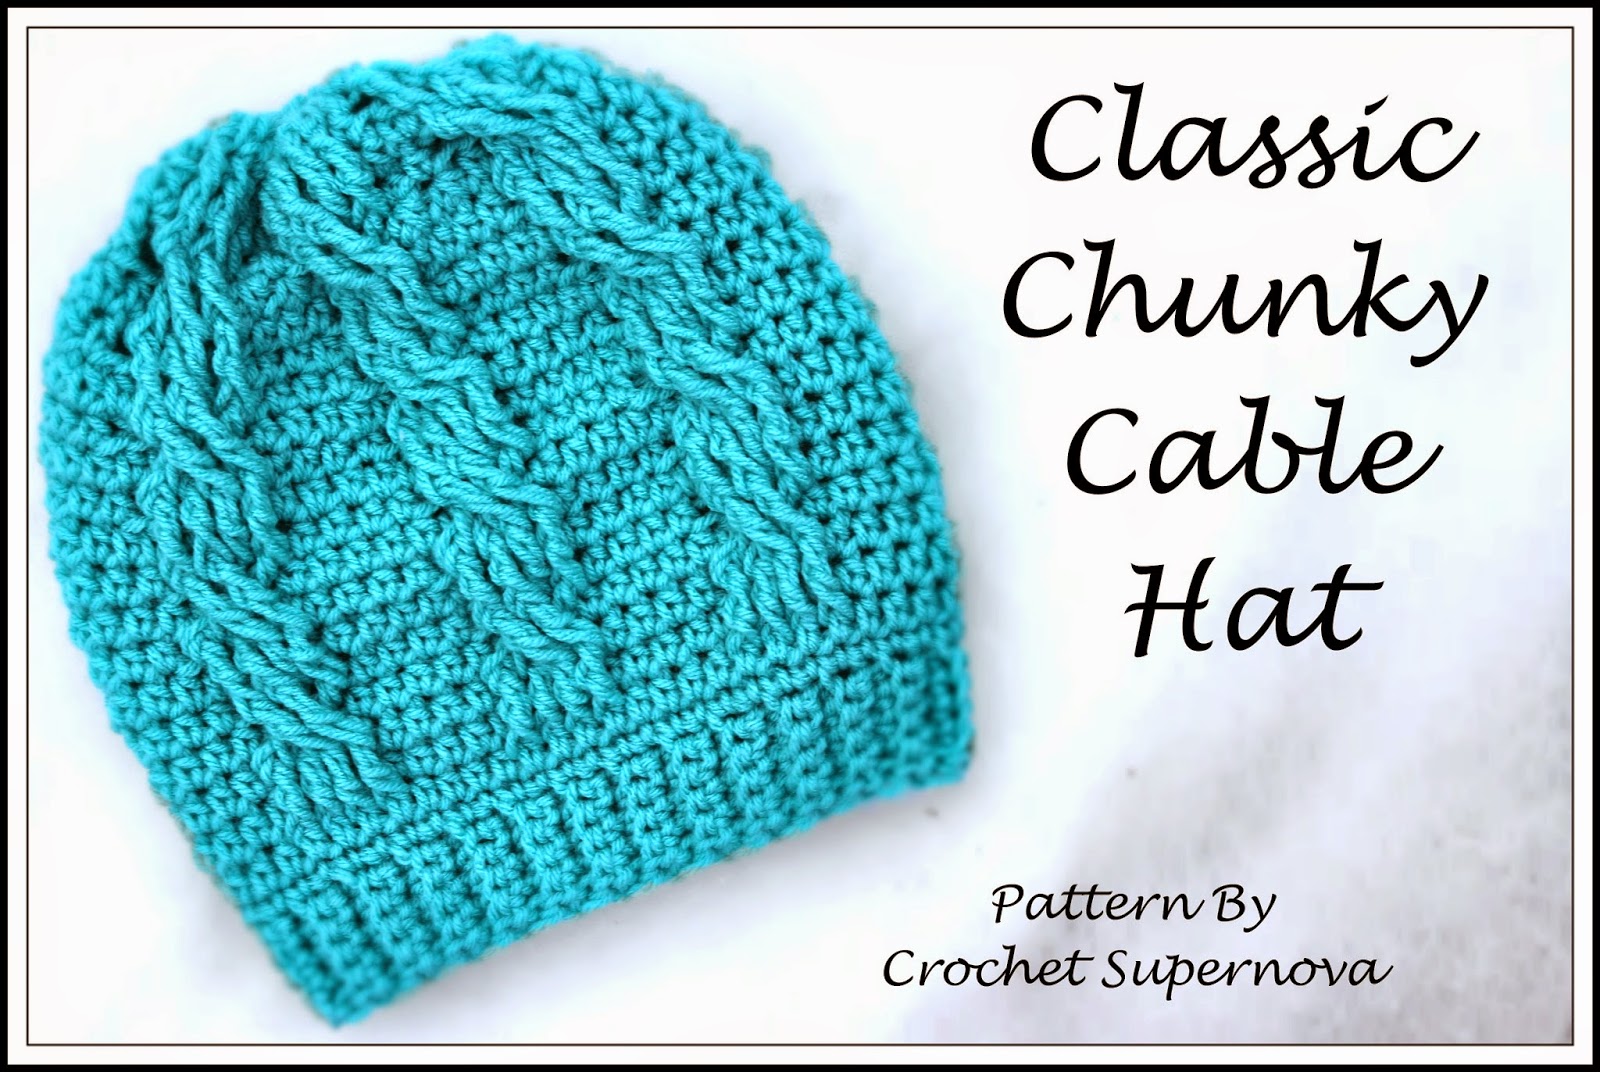
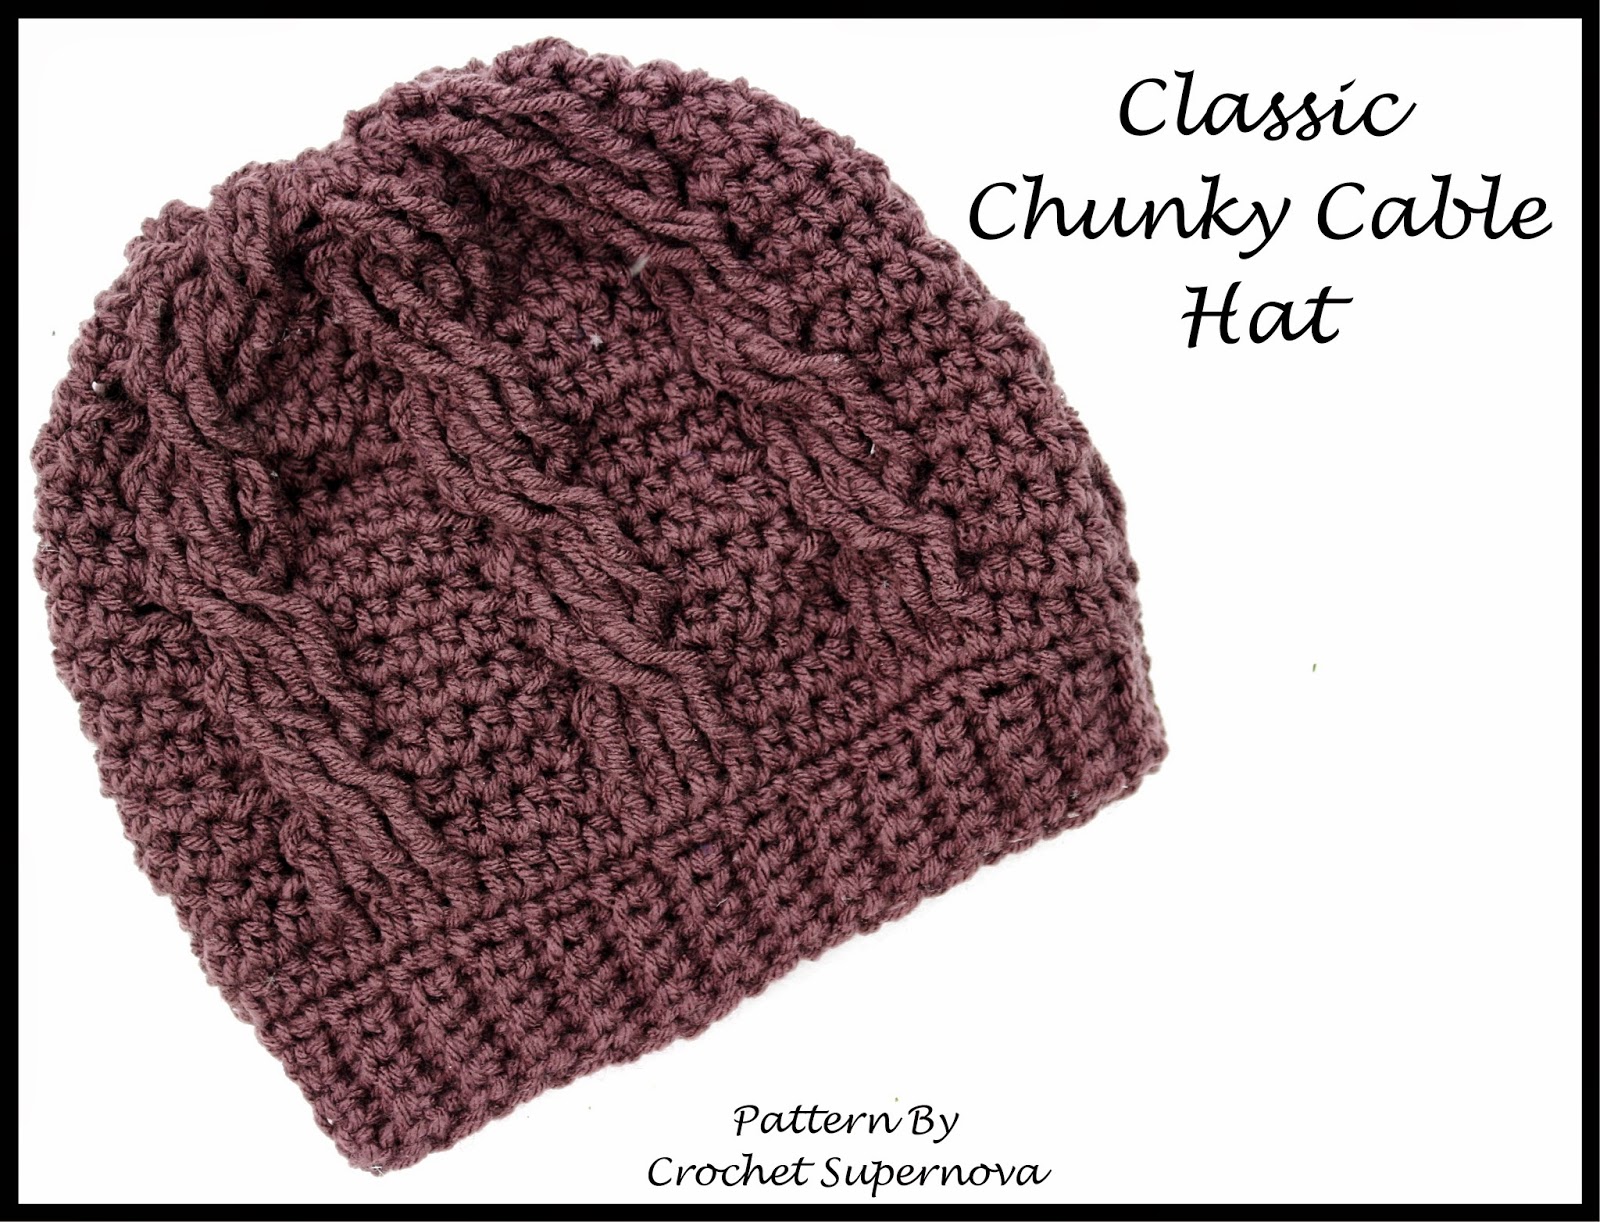
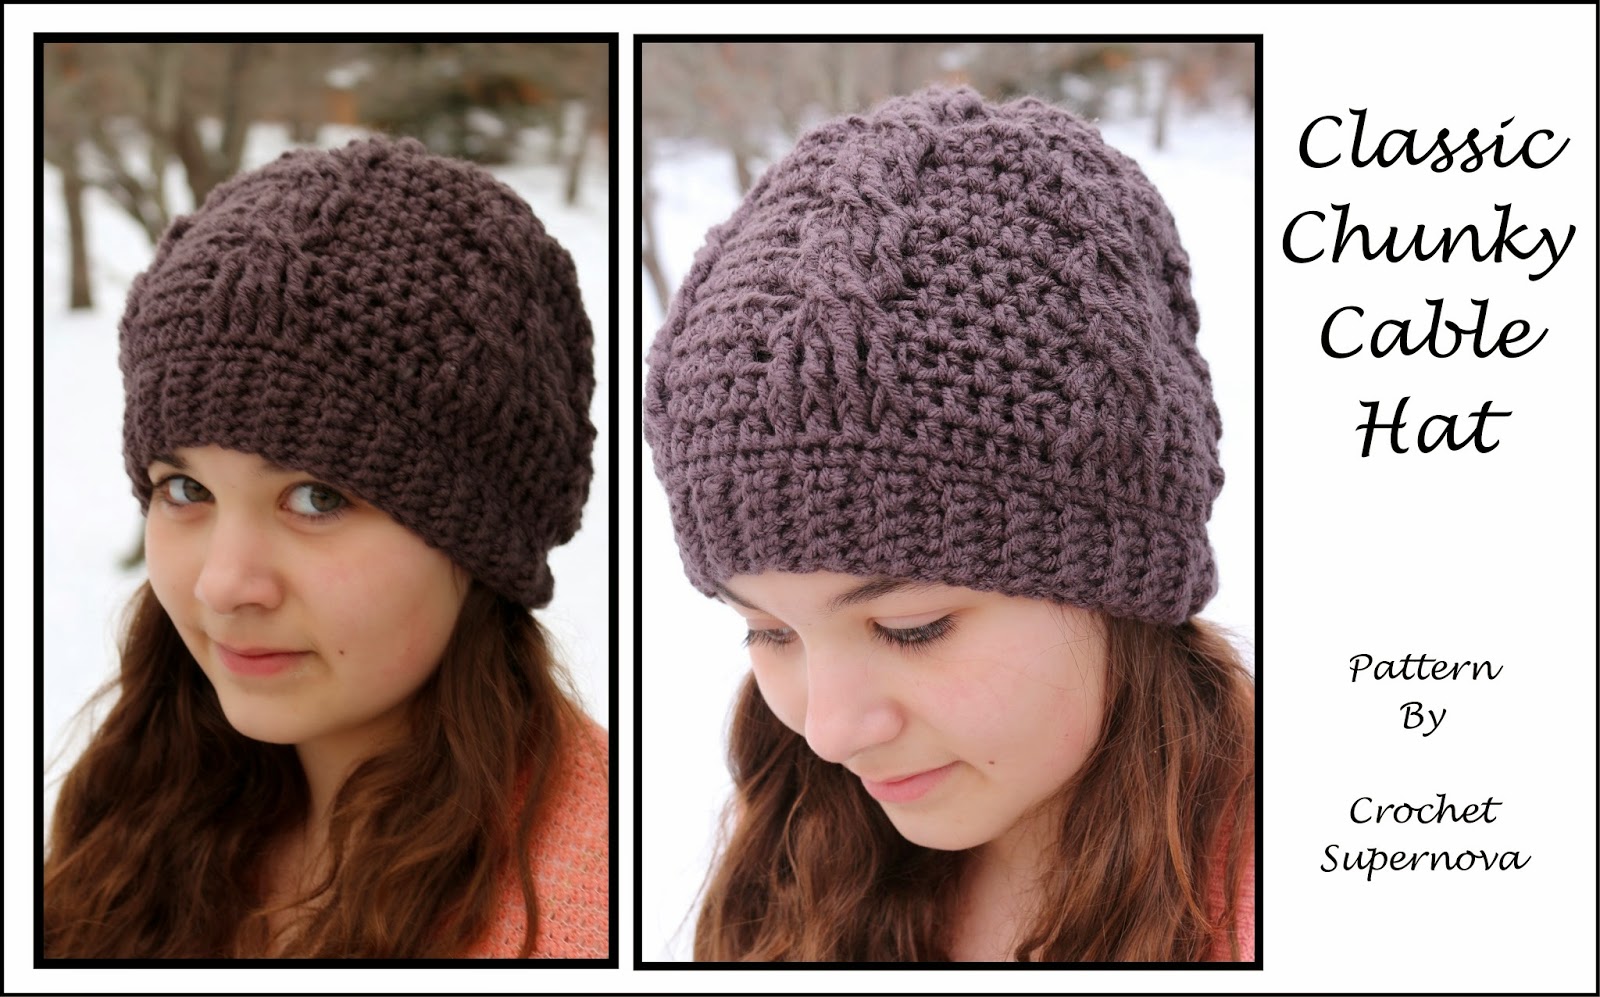 In the picture at the top of the sea glass blue hat I added one more row of cables to make it more of a slouch, the pattern as written makes the graphite colored hat …..
Enjoy your new hat
Follow in pattern as follows: HDC rows only
HDC decrease 2, hdc 4 (in the cables) HDC decrease over 2, HDC 4 (in the cable stitches) keep decreasing in this way and following the pattern until you have nothing but the 4 stitches that make up the cables left.
Do one row of hdc decreases all the way around and secure yarn and cut. Use your large eye needle and close up the remaining hole gathering it tight and securing and weaving in all ends.
In the picture at the top of the sea glass blue hat I added one more row of cables to make it more of a slouch, the pattern as written makes the graphite colored hat …..
Please let me know if you would like a video tutorial on this pattern
 Just had to add this lil update: I finished the mate to that lonely sock up there! My very first complete pair and Im over the moon!!!! Next Im starting on a pair of super secret New York Rangers colored socks for my wonderful hubby..... can I get them done in time for Christmas morning???? Lets see.....
******please note: Im NOT in any way shape or form a professional pattern writer…. just love to craft and love to share….. if there is something wrong that you spot please feel free to contact me so I can correct it to make it more fun for others to follow Thanks ******
No comments:
Post a Comment